
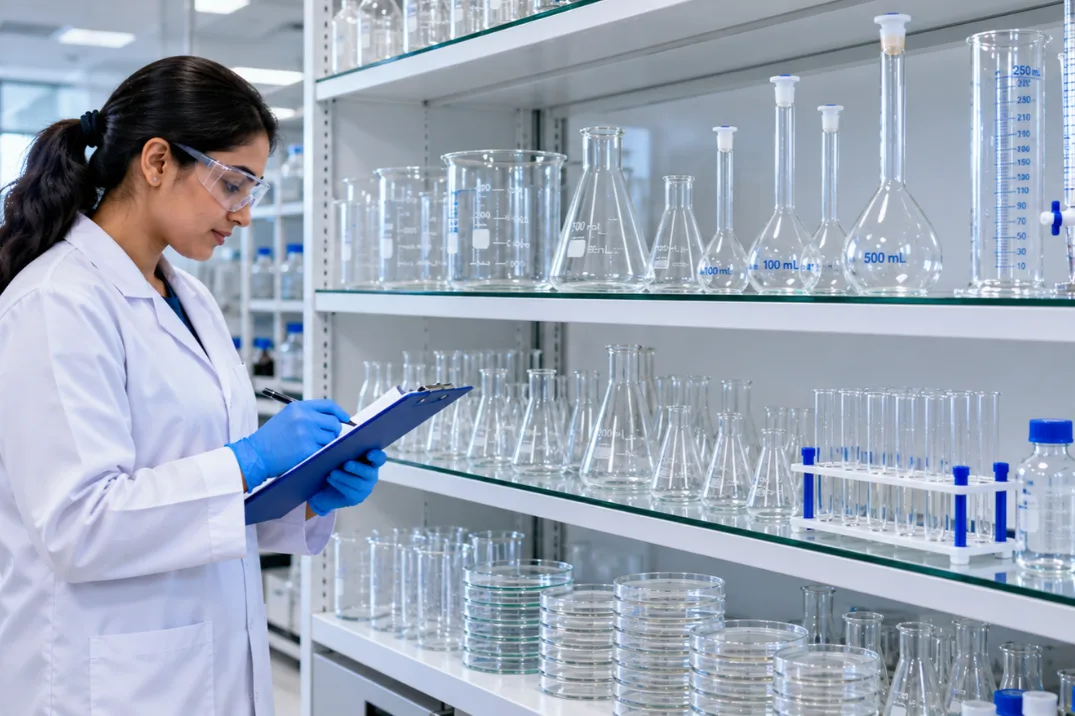
How to Clean Laboratory Glassware, Residue by Residue
Boro 3.3 glass is made to satisfy ISO 3585 and ASTM E-438 Type 1 Class A, yet no standard protects a beaker from the film left by last week’s work. So how to clean laboratory glassware matters as much as the glass you buy. A dirty flask looks exactly like a clean one until the result comes back wrong.
Why Does Clean Glass Come Before Accurate Results?
Cleaning does three jobs. It prevents contamination, it removes a hidden source of error, and it extends the working life of the glass. That is the importance of cleaning laboratory glassware in plain terms.
Accuracy rests on material quality, calibration and maintenance, and regular cleaning, sits under the last one. A burette with a greasy wall drains unevenly. A volumetric flask with film inside cannot give a reliable fill to the mark, however carefully it was calibrated.
Borosilicate helps here. It handles sudden temperature changes and resists chemical attack. It also stays clear enough for you to spot leftover film before it spoils a run.
How to Clean Laboratory Glassware Step by Step
If you remember one answer to how to clean laboratory glassware, make it this sequence:
- Rinse with distilled water to carry off loose residue.
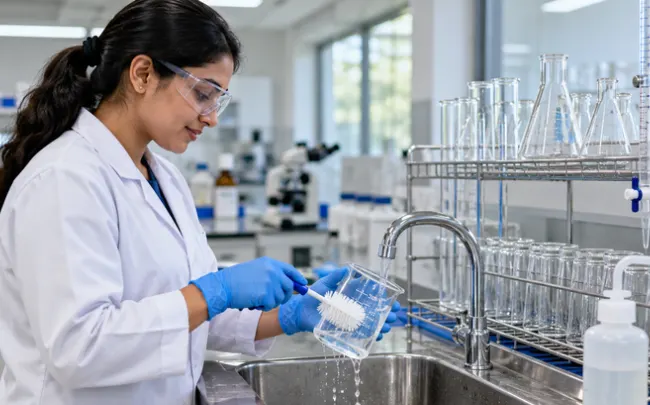
- Wash with a mild detergent and scrub gently.
- Then rinse again, thoroughly, until no detergent is left.
- Finish by air-drying, or using a laboratory glassware dryer.
Sterilization sits outside this base routine. Autoclaving or chemical methods apply only where the work requires them, such as cultured material. For calibrated pieces, air drying is the gentler choice, and the maker’s guidance settles any doubt.
Matching the Method to the Residue
The base routine handles everyday leftovers. Stubborn films call for a closer look at what the glass actually held. What follows is general lab practice, so your written procedure comes first.
Salts and Water-Soluble Reagents
Rinse early, before the liquid dries down. Dried crystals are harder to remove than dissolved salts.
Grease and Oily Films
These films are what make water bead later. Warm detergent and a gentle scrub, repeated if the film survives the first pass.
Dried Stains
Soak the piece in detergent solution before you reach for a brush.
Culture Residue
Petri dishes and culture tubes raise a sterilization question first. Where your protocol requires autoclaving or chemical methods, do that before the wash.
Any acid or solvent step belongs to your lab’s written procedure and the chemical’s safety data sheet, with eye protection on.
The Water-Break Test in Ten Seconds
After the final rinse, hold the piece upright and let distilled water run down the inside wall. Clean glass keeps an unbroken sheet of water as it drains. Grease or leftover film pulls the water into beads or splits it into patches, and those patches mark where to rewash.
Run it before volumetric work, especially, since a beaded surface changes how liquid sits against the wall and the meniscus you read. The test shows surface film only. It cannot confirm sterility or trace purity, so work that needs either follows its own protocol.
How Will You Clean New Glassware?
Treat it like used glass. New pieces were handled and stored before they reached your bench, so the same rinse, wash, and rinse routine applies. Finish with the water-break test, then dry as usual.
Choosing Glass That Suits Your Cleaning Routine
Borosilicate dominates lab benches because of its heat and chemical tolerance. Quartz glass serves high-temperature and optical work. Plastic labware is lighter and harder to break, and it suits jobs that involve no heat.
When you compare laboratory glassware suppliers in UAE, ask which glass type and standards apply, whether calibration is stated, and which cleaning and drying methods the maker recommends.
Final Thoughts
Good cleaning is a short sequence repeated the same way every time: rinse, wash, rinse, dry, test. The water-break test turns a guess into something you can see. Which step in your current routine do you trust least? Fix that one first. This guide comes from Saffron Chemicals, a Sharjah-based laboratory supplies company.
FAQ
Rinse with distilled water, wash with mild detergent and a gentle scrub, rinse again thoroughly, then air-dry or use a laboratory glassware dryer. Add autoclaving or chemical sterilization only when your work calls for it.
It shows whether a surface film is left. Water on clean glass drains in one smooth sheet. If it beads or splits, grease or residue is still there. It says nothing about sterility, so treat it as a visual check.
Yes, treat it like used glass. Pieces get handled and stored before they reach you, so run the same rinse and wash routine, then check with the water-break test before measuring anything.
Residue can contaminate the next sample and throw off a reading. Clean glass also lasts longer. Calibration only means something when the vessel itself is free of film.